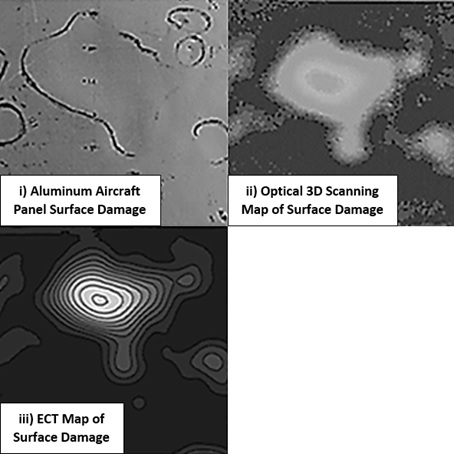
Surface damage on honeycomb aircraft panels is often measured manually, and is therefore subject to variation based on inspection personnel. Eddy current testing (ECT) is sensitive to variations in probe-to-specimen spacing, or lift-off, and is thus promising for high resolution profiling of surface damage on aluminum panels. Lower frequency testing also allows inspection through the face sheet, an advantage over optical 3D scanning methods. This paper presents results from the ECT inspection of surface damage on an approximately flat aluminum honeycomb aircraft panel, and compares the measurements to those taken using optical 3D scanning technology. An ECT C-Scan of the dented panel surface was obtained by attaching the probe to a robotic scanning apparatus. Data was taken simultaneously at four frequencies of 25, 100, 400 and 1,600 kHz. A reference surface was then defined that approximated the original, undamaged panel surface, which also compensated for the effects of specimen tilt and thermal drift within the ECT instrument. Data was converted to lift-off using height calibration curves developed for each probe frequency. A damage region of 22,550 mm2 area with dents ranging in depth from 0.13-1.01 mm was analyzed. The method was accurate at 1,600 kHz to within 0.05 mm (2s) when compared with 231 measurements taken via optical 3D scanning. Testing at 25 kHz revealed a 3.2 mm cell size within the honeycomb core, which was confirmed via destructive evaluation. As a result, ECT demonstrates potential for implementation as a method for rapid in-field aircraft panel surface damage assessment.

